

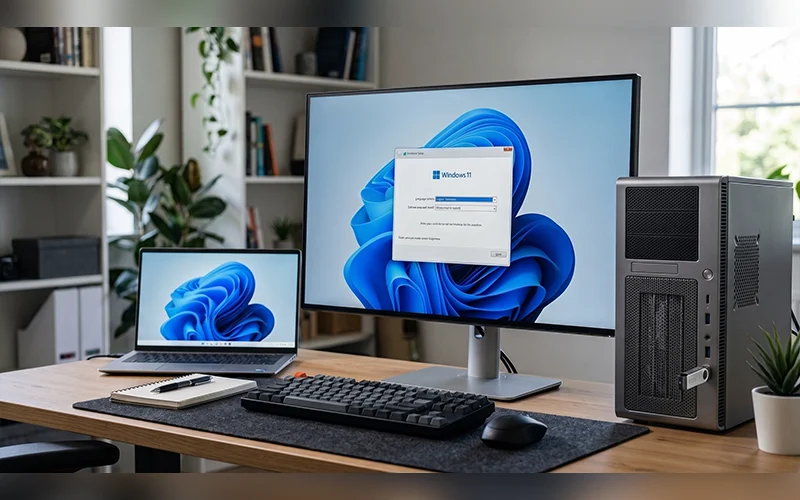
Maybe you’ve got a new PC with an empty drive, a laptop that crawls on Windows 10, or a machine that just needs a clean start. Whatever the reason, learning how to install Windows 11 takes less effort than most people expect. The whole job usually finishes in under an hour, and most of that is waiting.
The standard USB method comes first, followed by the special cases: new hardware, laptops, unsupported machines, local accounts, offline setups and installs without a flash drive. Fixes for midway problems are at the end.
What You Need Before You Start
Windows 11 System Requirements
Microsoft’s official minimums are short:
| Component | Minimum |
| Processor | 1 GHz or faster, 2+ cores, 64-bit |
| RAM | 4 GB |
| Storage | 64 GB |
| Firmware | UEFI with Secure Boot support |
| Security chip | TPM 2.0 |
| Graphics | DirectX 12 compatible |
Most PCs from the last several years clear this list, and Microsoft’s PC Health Check app can confirm yours in a minute. If yours doesn’t, skip ahead to the unsupported-PC section.
Things to Keep Ready
Grab a USB drive with at least 8 GB of space. The process will wipe all data stored on the drive, so choose a USB drive that contains nothing important. You’ll also need a second working computer if the target machine has no operating system yet, plus a decent internet connection for the download. If you own a product key, keep it nearby. If not, the free-install section covers your options.
Back Up Your Important Files
A clean install wipes the drive you choose. Copy documents, photos, browser bookmarks and saved game files to an external drive or cloud storage first. People usually remember the Desktop folder and forget Downloads and AppData.
Installing Windows 11 From Start to Finish
Here’s the whole process in six steps. The sections below unpack each one.
- Download Microsoft’s installation tool and write Windows 11 to a USB drive of 8 GB or more.
- Plug the drive into the target PC and open the boot menu right after powering on.
- Select the USB drive to start Windows Setup.
- Pick the custom install option and choose the drive for Windows.
- Let Windows copy its files and restart on its own a few times.
- Finish the first-run setup, then run Windows Update and add any missing drivers.
How to Install Windows 11 from USB
Download the Official Installer
Using another computer, visit Microsoft’s official page to get Windows 11. Under “Create Windows 11 Installation Media,” click Download Now. That gets you a small program called the Media Creation Tool. If you’d rather have the raw ISO file for use with other tools, the same page has a separate disk image section further down.
Create a Bootable USB Drive
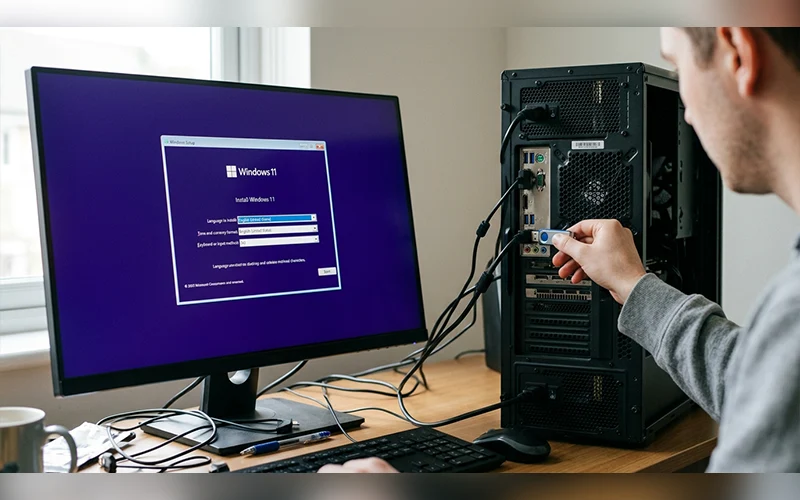
Connect the USB drive and launch the utility. Accept the license, pick your language and edition, then choose “USB flash drive” and select your stick from the list. The tool downloads Windows 11 and turns the drive into an installer. Don’t pull the drive out early. A half-written USB is behind a lot of “setup can’t find files” complaints.
Boot Your PC from the USB
Plug the finished drive into the target computer. Power it on and tap the boot menu key right away, before the logo disappears. It’s usually F12, F11, F10, F8 or Esc, and many systems flash a hint at the bottom of the first screen. Choose your USB drive from the list with the arrow keys and hit Enter.
Follow the Setup Screens
- Pick your language, time format and keyboard, then click Install Now.
- At the key prompt, enter your key. If you’re reinstalling on a machine that was activated before, click “I don’t have a product key” instead.
- Choose your edition and accept the terms. Home covers most people, while Pro adds BitLocker and Remote Desktop hosting.
- Select Custom: Install Windows only (advanced) as the installation type.
- On the drive screen, delete each old partition on the disk you’re replacing until only “Unallocated Space” remains.
- Select the Unallocated Space and click Next.
Windows 11 will transfer the required data and reboot your computer a few times during installation. Allow the setup to finish uninterrupted, then unplug the USB drive as the computer begins its first restart to avoid launching the installer again.
Installing Windows 11 on a New Computer
A brand-new build is actually the easiest case. There’s no old data to protect and no messy partition layout to untangle. The real differences are in the firmware settings.
Set the Boot Order in BIOS
Many custom-built PCs sit on a blank screen or a “no boot device” message until you tell the motherboard where to look. Enter BIOS by tapping Delete or F2 at startup, then move the USB drive to the top of the boot priority list. Motherboard brands also have their own one-time boot menu keys: ASUS uses F8, Gigabyte F12, and MSI and ASRock F11.
Check two more things while you’re in there. Make sure Secure Boot is enabled, and make sure TPM is switched on. On AMD boards it may be labeled fTPM, and on Intel boards PTT. Both are often off by default, and they’re the usual reason a perfectly capable new PC gets rejected.
Partition the Drive During Setup
When you reach the drive selection screen, a fresh SSD appears as “Drive 0 Unallocated Space.” Don’t create partitions by hand. Select it and click Next, and Windows builds the system, recovery and main partitions on its own layout.
Installing Windows 11 on a Brand-New Laptop
Installing Windows on a laptop is much the same, although a few details differ. Connect the power adapter before starting the setup. If the battery runs out while files are being transferred, the installation may fail and force you to repeat the process.
Open the Boot Menu (Brand-Wise Keys)
| Brand | Boot menu key |
| Dell / Alienware | F12 |
| HP | Esc, then F9 |
| Lenovo | F12, or the Novo pinhole button |
| ASUS / ROG | F8 or Esc |
| Acer | F12 (enable it in BIOS first if it does nothing) |
Laptops supplied with FreeDOS may already have disk partitions. If any exist, delete them in the same way as partitions on a used drive.
Install Laptop Drivers Afterward
Laptops depend on drivers more than desktops do. The trackpad, Wi-Fi card, battery controller and keyboard backlight all need the right software, and Windows Update supplies most of it on its own after your first login. If a fingerprint scanner or function key continues to have issues, check the PC maker’s website for a driver that Windows Update may not provide.
Installing Windows 11 on an Unsupported PC
Plenty of older but perfectly usable machines get blocked at setup. There are ways around it, though they come with trade-offs.
Why Your PC Shows “Not Supported”
The block almost always comes from one of three things: no TPM 2.0 chip, Secure Boot disabled or unavailable, or a processor missing from Microsoft’s approved list. A disabled TPM is the easiest cause to fix, and the BIOS settings from the new-PC section above can clear it without any workaround.
Bypass TPM and CPU Checks
The cleanest option is Rufus, a free tool from its official site. Download the Windows 11 ISO from Microsoft, open Rufus, select your USB drive and the ISO, then click Start. A “Windows User Experience” window appears. Tick the box that removes the requirement for 4 GB+ RAM, Secure Boot and TPM 2.0, then confirm. Rufus writes a modified installer, and the compatibility check no longer blocks you.
Already stuck on the error screen with a normal USB? Press Shift + F10 to open Command Prompt, type regedit, and go to HKEY_LOCAL_MACHINE\SYSTEM\Setup. Create a new key named LabConfig. Inside it, add three DWORD (32-bit) values: BypassTPMCheck, BypassSecureBootCheck and BypassCPUCheck, each set to 1. Close the windows, step back in the installer, and click Next.
Risks You Should Know About
Microsoft doesn’t promise updates for hardware that fails its requirements, so security patches could stop arriving at some point. One limit no bypass can fix: recent Windows 11 versions need a CPU with SSE4.2 support, which means Intel chips from 2008 and AMD chips from 2011 onward. Anything older won’t boot Windows 11 at all. Keep Windows 10 recovery media around in case you decide to go back.
How to Install Windows 11 Without a Microsoft Account
Use the Local Account Option
If you’re using Rufus, the same options window offers a checkbox to remove the online account requirement, so the problem is solved before the installer even boots. Microsoft has been closing the in-setup tricks on newer builds, which makes this the most dependable route.
Skip Sign-In with a Simple Trick
With a standard installer, let setup run until the “Let’s connect you to a network” screen appears. Press Shift + F10 (Fn + Shift + F10 on some laptops), type OOBE\BYPASSNRO in the black window and press Enter. The PC restarts. Go through region and keyboard again, and this time an “I don’t have internet” link shows up. Click it, then choose “Continue with limited setup.” Setup now asks for a username and password, and your local account is ready.
Microsoft has been removing these tricks from newer builds, so results vary. If the command above does nothing, type start ms-cxh:localonly in the same Command Prompt window to open a local account form directly. If neither option works on your system, use the Rufus approach instead.
How to Install Windows 11 Without Internet
The command-prompt trick above can also get you past the network screen on a machine that’s truly offline. What matters more here is what you prepare beforehand, because there will be no second chance to download anything.
Prepare Everything Offline
On another computer, make the USB installer ahead of time. Also download your laptop or motherboard’s Wi-Fi and LAN drivers from the manufacturer’s site, and save them on the same USB or a second stick. Without a network driver, Windows may start up with no way to get online at all, which is a frustrating spot to be in.
Finish Setup with No Network
Continue until the network screen, apply the bypass, and create your local account. Once you’re on the desktop, install your saved drivers first. Then connect to Wi-Fi or Ethernet when you’re ready and let Windows Update catch up in the background.
How to Install Windows 11 Without USB
If your computer already boots into Windows, a flash drive isn’t strictly necessary.
Upgrade Using Windows Update
On eligible Windows 10 PCs, Settings > Windows Update may already show a Windows 11 upgrade offer. Click Download and install, and the process keeps your files and apps. It’s the lowest-effort route, but only appears if Microsoft considers your hardware supported.
Mount the ISO and Run Setup
Download the multi-edition ISO from Microsoft’s download page, right-click the file, and choose Mount. Open the new virtual drive and double-click setup.exe. When prompted, pick “Keep personal files and apps” to upgrade in place, or “Nothing” for a full wipe.
For a true clean install with no USB, extract the ISO with 7-Zip into a folder on a different partition, say D:\Win11. Hold down Shift as you click Restart, then navigate to Troubleshoot > Advanced options > Command Prompt. Recovery often assigns different drive letters than Windows does, so switch to the partition holding your folder, confirm with dir, move in with cd Win11, and run setup.exe. The usual installer opens, and you can format C: from there.
How to Install Windows 11 Free (Legally)
Microsoft lets you install Windows 11 without paying upfront. A license only matters later, once you want the full experience.
Free Upgrade from Windows 10
If your PC has run an activated copy of Windows 10 or 11 before, it carries a digital license linked to the hardware. Reinstall Windows 11 on it, and activation happens automatically once you’re online. That covers eligible Windows 10 machines too. Since Windows 10 reached end of support in October 2025, moving one to Windows 11 is also the simplest way to keep receiving security updates.
Using Windows 11 Without Activation
On a fresh build with no license, click “I don’t have a product key” during setup. Windows runs normally, apart from a small watermark in the corner and locked personalization options such as wallpaper and themes. You can buy a license later from Settings whenever you like. Skip “activator” tools and cracked copies. They come bundled with malware often enough that they’re simply not worth the risk.
What to Do After Installing Windows 11
Run Windows Update
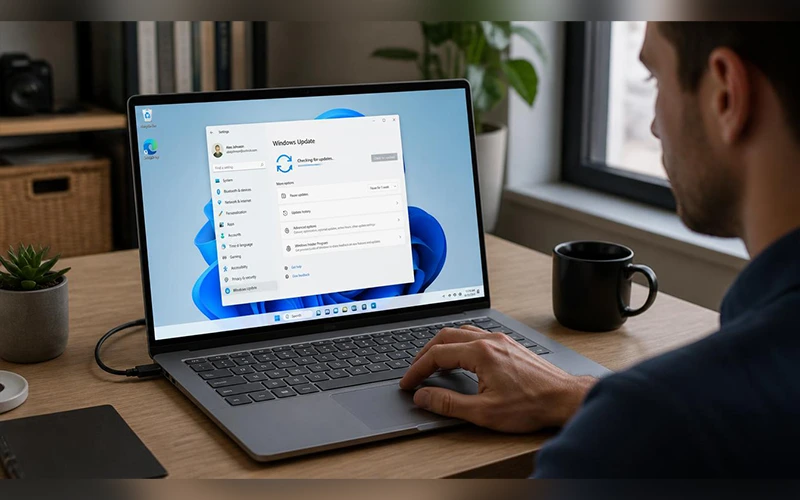
Open Settings > Windows Update and click Check for updates. Reboot when asked, then check again. After a clean installation, you may need to update your system several times to get the latest graphics and chipset drivers.
Install Drivers and Essential Apps
Visit your GPU maker’s site for the latest graphics driver, since the one Windows installs is usually a generic version. Next, install essential applications, including a web browser, a PDF viewing program, a video player, and reliable security software.
Tweak Privacy and Performance Settings
Under Settings > Privacy & security, review diagnostics, advertising ID and location access. In Startup apps, switch off anything you don’t need at boot. A simple adjustment can make aging computers run noticeably faster than you might think.
Common Installation Problems and Fixes
“This PC Can’t Run Windows 11” Error
First confirm the PC booted the USB in UEFI mode rather than legacy BIOS mode. Legacy mode hides Secure Boot and can trigger this message on perfectly capable hardware, so pick the boot menu entry that starts with “UEFI” for your USB drive. If the error stays, the CPU or TPM genuinely doesn’t qualify, and the Rufus or registry method from the unsupported-PC section is the way forward.
USB Not Detected in Boot Menu
Try a different USB port, preferably a rear port on a desktop. Next, check whether the drive was created in the format your firmware expects. Rufus lets you choose between GPT for UEFI and MBR for legacy BIOS. If the stick still doesn’t appear, rebuild it, because a corrupted write is more common than a faulty drive.
Stuck on Installing Screen
Allow the process around 20 to 30 minutes to finish, as older hard drives take longer to respond. If nothing moves after that, unplug extra USB devices, printers and secondary drives, then try again. Re-downloading the ISO also solves it more often than you’d think, since a damaged download leads to exactly this kind of freeze.
Final Thoughts
Now you know how to install Windows 11 on a fresh build, a new laptop or an older machine, with or without a USB drive. Use the regular installation approach and turn to alternative options only when necessary.
Stuck on a particular screen or error? Leave a comment with what you’re seeing, and we’ll work through it.
Frequently Asked Questions
Does installing Windows 11 delete my files?
Formatting the drive is necessary only for a clean installation; an in-place upgrade launched through setup.exe can preserve your existing files and applications. If you’re unsure which one you started, pause at the drive selection screen before clicking Next.
How long does the installation take?
Roughly 30 to 45 minutes on an SSD, and an hour or more on a traditional hard drive. Downloading the installer is extra and depends on your connection.
Can Windows 11 run on 4 GB of RAM?
Yes, 4 GB is the official minimum and handles light tasks fine. Heavy multitasking feels cramped, so 8 GB is the comfortable target.
Can I install Windows 11 without TPM?
Yes, either the Rufus method or the LabConfig registry keys will skip the TPM check. The registry route suits a USB you’ve already made, while Rufus suits a fresh one.
Is it possible to switch back to Windows 10 after upgrading to Windows 11?
Is it possible to switch back to Windows 10 once Windows 11 is installed?
Yes, but only within 10 days of an in-place upgrade, using Settings > System > Recovery. After a clean install, you’d have to reinstall Windows 10 from scratch.
Is it safe to download Windows 11 from third-party sites?
No. Re-packaged ISOs can hide malware or tampered settings. Download only from Microsoft’s official page, even if you plan to use Rufus afterward.
Does Windows 11 have a 32-bit version?
No, Windows 11 is 64-bit only, so a 32-bit processor can’t run it. Pick the 64-bit ISO whenever a download page asks.
Do I need an SSD to run Windows 11?
Yes, you can still use a hard drive, but booting and installing updates will take much more time. Upgrading to an SSD offers the biggest improvement in installation speed and everyday performance.
For more articles like this, visit our site: https://factbreaker.com/